Clone Your Hard Drive For Free
Whether you are wanted to upgrade your hard drive to a new solid state drive, swap you hard drive for a larger one, or just make a back up, cloning your hard drive is a pretty simply task. In this article we’ll walk you through 10 steps to clone your hard drive for free, using a free piece of software called AOMEI Backupper.
What you will need:
- A copy of AOMEI Backupper (Freeware).
- A spare/new hard drive to clone to (of equal or greater size than the information you want to clone).
- 1 – 4 hours, maybe more.
You’ll need to connect the spare/new hard drive to your PC and that connection will depend on the spare/new hard drive you have. If you’ve taken the hard drive out of another computer or bought it without an enclosure then you’ll need one of the following (eBay links provided):
- A hard drive enclosure (suitable to the physical size of your hard drive), or
- A USB to SATA cable, or
- A spare SATA cable (This will only work on a desktop PC) or
- An eSATA to SATA cable (if you computer has a eSATA port), or
- A hard drive docking station
If you are using an external hard drive that is in an enclosure then you can simply plug it into one of your PC’s USB ports. Go ahead and connect the new/spare hard drive to your PC in which ever way is best for you.
If it’s new, best practice would be to format it before use. Note that formatting any hard drive will delete all data from it so make sure you don’t need any information on the hard drive before going ahead with the format. You will be prompted by Windows to perform a format if needed when you insert the hard drive to the computer. Simply click through the instruction and the hard disk will be ready to use.
We’ll be using AOMEI’s Backupper software for this tutorial. It’s free but you’ll have to provide an email address before downloading. Head over to AOMEI’s Backupper and download the Freeware version.
You may notice in the feature list that the free version does not include “system clone”. Don’t worry about this if your intention is to clone your entire hard drive.
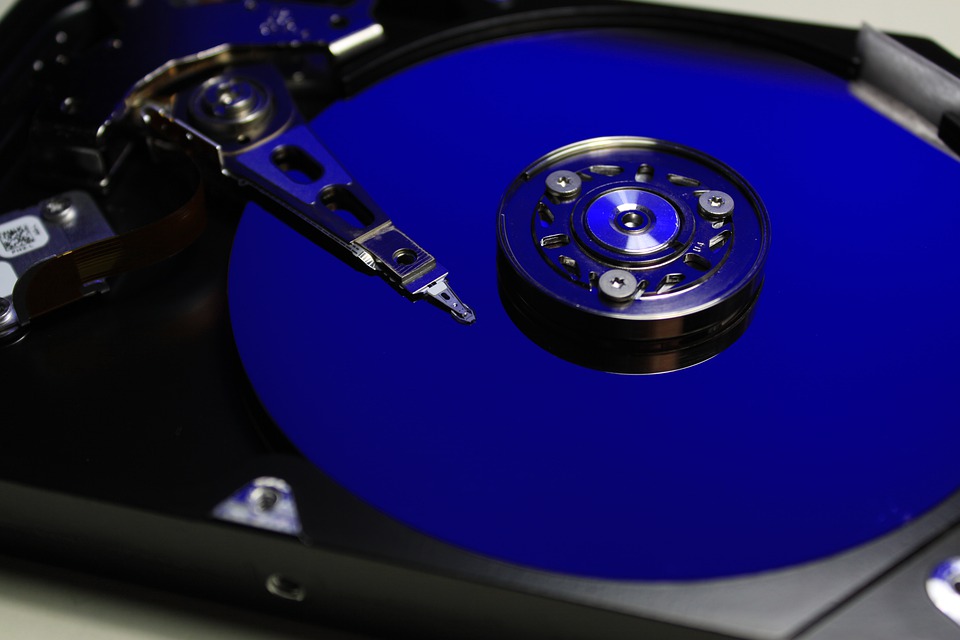
For the hard drive, I’ll be using a Seagate 500GB drive, connected through a Dual Bay USB 3.0 Docking Station available on eBay.
Step 1
Once you’ve downloaded the software, start the installation process by double clicking on the downloaded file. You’ll be presented with this screen. Click “Skip”. You can buy the Pro version from within the software at a later stage if you so desire.

Step 2
You can change the path of the installation and view the licensing agreement is you wish to. Or simply click on “Install Now”.

Step 3
Once the program has installed, you’ll see this screen. Click on “Clone Disk” on the right to begin.

Step 4
Now click on “Disk Clone”

Step 5
At the next window, you’ll see a list of available hard drives connected to your computer. My list shows (from top to bottom) my main hard drive with a few partitions including the C: with the operating system, program files, etc. listed as “Disk0”.
Next is “Disk1” – D: which I use for my media.
And lastly, is my empty hard drive that’s been formatted and ready to use, labelled as “Disk2” – F:
Notice at the top of the window it states SOURCE DISK – This is the disk you want to make a clone of. In my case, I want to clone my main hard dive, that is Disk0.
Select the disk you want to make a clone of by click on it – it will be highlighted in green once selected. Click next.

Step 6
Now select the DESTINATION DISK, that is, where you want to save the cloned copy to. This should be the newly formatted drive you’ve just plugged into your PC. In my case, it’s Disk2. Click on it so it’s highlighted in green. Click next.

Step 7
The next window warns you that you are going to delete all information on the DESTINATION DISK. If you are sure you selected the right disk, then click on “OK”

Step 8
The next window provides confirmation of the operation that is about to be performed. Double check that you have selected the correct SOURCE and DESTINATION drives. Also, take a look at the bottom of the window. If you’re cloning to a SSD (Solid State Drive), then check the box entitled “SSD Alignment“. This option will increase the SSD’s performance once cloned. Sector by Sector clone will attempt to copy the unused space on the hard drive (even bad sectors, should there be any). In most cases, this isn’t necessary, but if you’d like to do this, then check the box. Note that it will take significantly longer to perform the cloning operation. Click “Start Clone”.

Step 9
The cloning process will start. Don’t interrupt the process during operation.

Step 10
Once complete, your hard drive will be cloned. (Note that this procedure could take in excess of 4 hours, depending on the speed of your computer, hard drives, cables, etc… etc…..) The cloned drive can be installed into another PC and should function as intended. It will contain all the data from your source drive. It will be bootable, meaning that you will be able to boot up your operating system from this drive. This is a great way to create a backup of your hard drive!

Conclusion
And that’s how you clone a hard drive using AOMEI’s Backupper software.
If you want a more advanced feature set, try AOMEI Backupper Professional. It boasts a plethora of features that any professional will find useful for under $50.00. It includes a lifetime of updates and support. But if you’re only after a simple yet robust cloning solution, AOMEI’s Backupper will do the job perfectly.
Did you have success in cloning your drive with this method? Perhaps you can recommend an easier solution? Or maybe you have a question? Feel free to leave a comment below.